Monday, January 7, 2013

Table Runners part 1

Now that Christmas is over, I can show the table runner and coasters I made for my Daughter in law.   They like red white and blue and Texas prints.


These are the 11 fabrics I started  with.  I used  Folded Table Runner by DJ Richardson Design and it is all folded triangles to create the table runner.
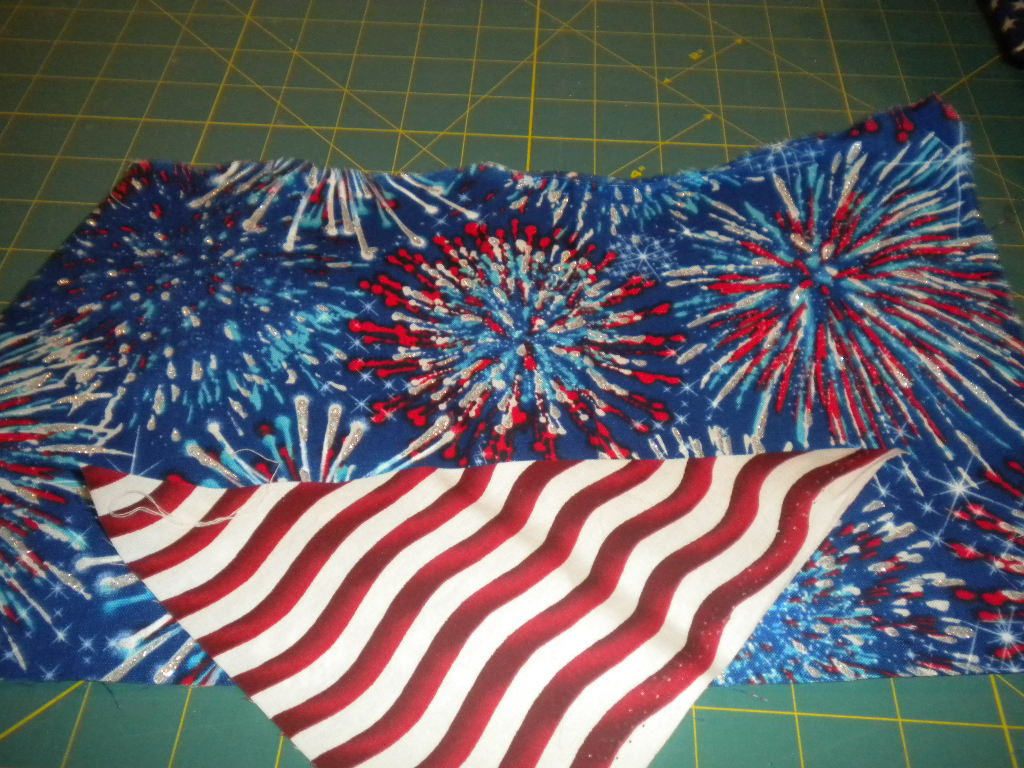

 This is the backing in the binding fabrics


The table runner is 12 x 25


This is a close up of the folded triangles.


I also made a coasters the same fabrics.


This is the back of the projects.


I used a different fabric on the back of the coasters.


As you can see the front of the coasters are slightly different but using the same fabrics as the table runner.   I used Insul-bright from the Warm and Natural Company so that they can use the table runner as a trivet.


I had so much fun making that when for her that I made one for myself.  My husband picked out the colors and they are Color Wheel Sushi Rolls from  Batik by Mirah.  All of the fabric  were bought at Quilt Country.


Sushi Roll


 Bright yellow backing and black with multicolor binding


I had to cut the jelly rolls down to 2 inch strips. Then I folded half-inch heel on one edge and sub cut all of my colors into 3 inch rectangles. My husband helped by pressing the him down in the first step of of prepping the fabrics. After the fabrics were sub cut they had to be folded in half and again he helped with the pressing. And as you can see he had lots of good help


I did not take any pictures during the process but this is the finished table runner.


We never could get a picture that didn't look blurry in the middle I think it's just the colors all blending together.

This is a close-up that shows the folded triangles better.
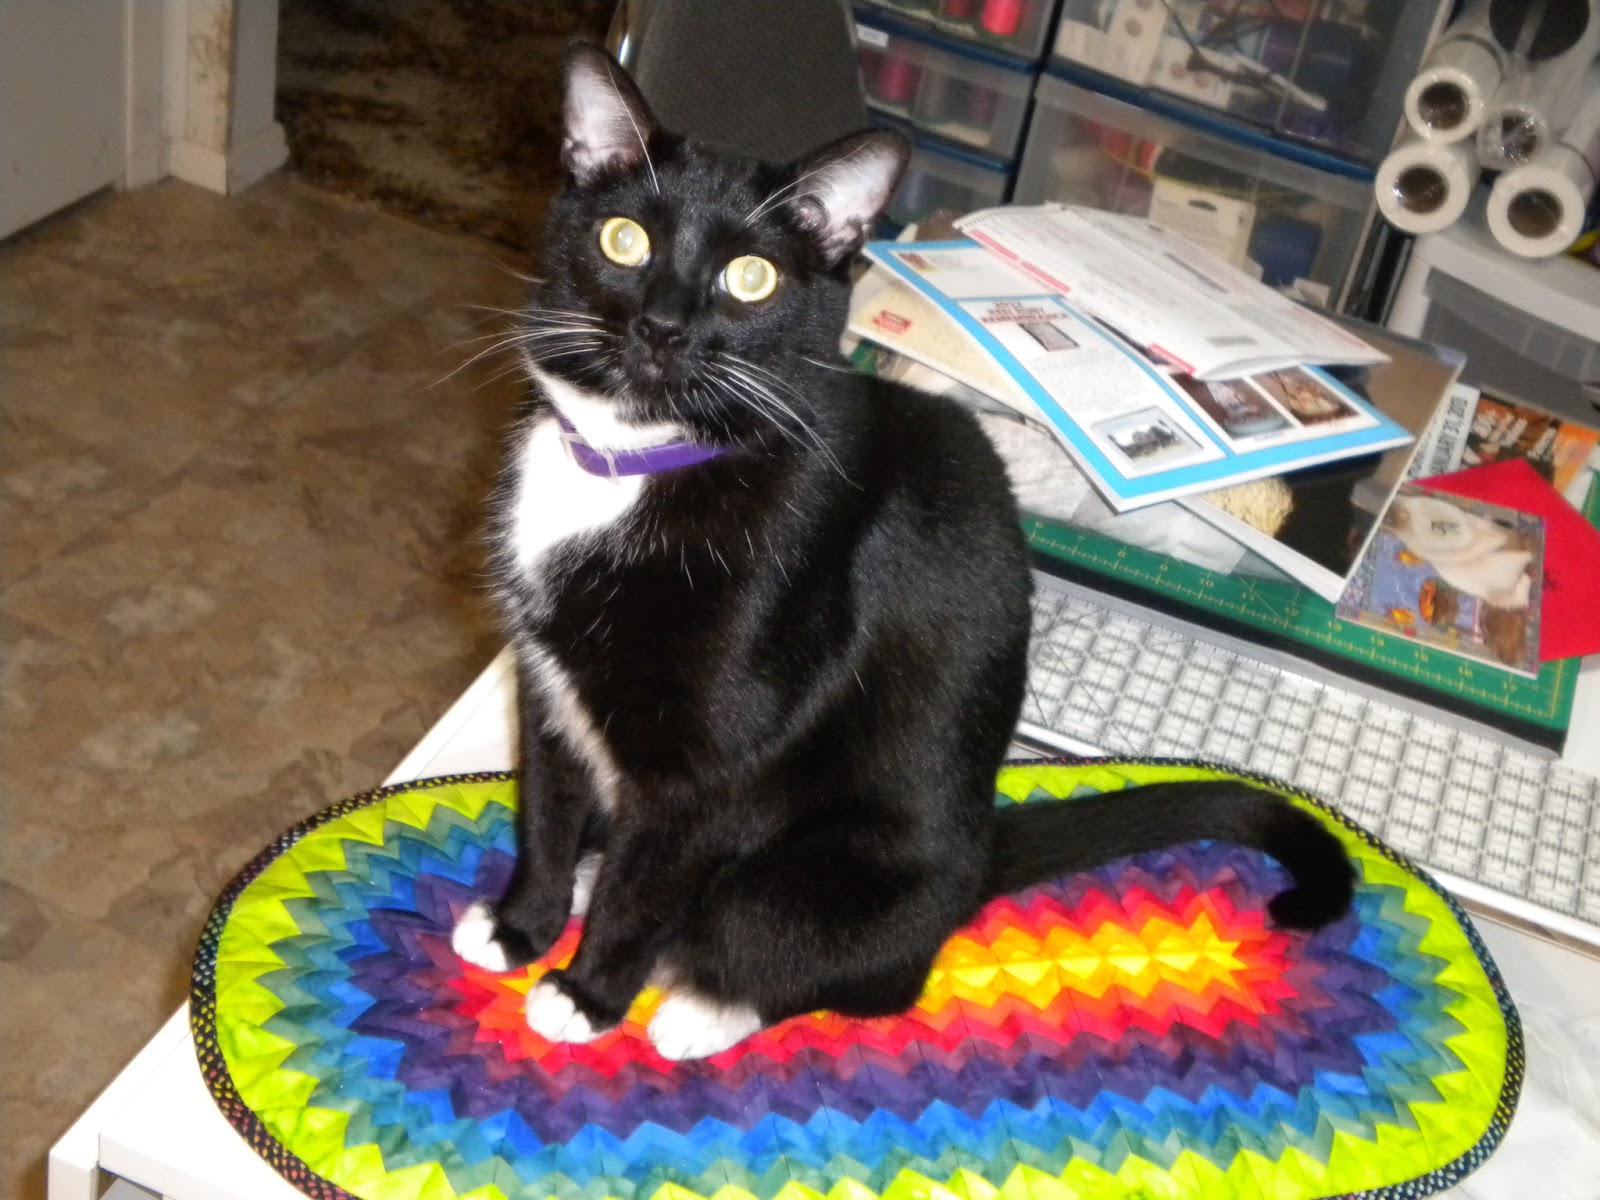


And once again here is our helper on the finished product!

Wednesday, January 2, 2013

Fundamentals

Fundamentals:  Build your machine piecing skills with a variety of machine piecing techniques. From Bits 'N Pieces pattern company.  This was a block of the month that worked out to be a block a week.  We received 4 blocks every month so it was a 13 month project that we started in 2011. There were three lay out choices. I selected the one that has Iris chain filler blocks.  I used 50 pieced blocks, 31 two color chain blocks. 18 three color chain blocks and 22 three color half blocks  plus 18 filler strips and 4 corner stones for the border.  

Lower left laid out to sew. 

 Lower left complete!

Lower right complete!

 Upper half
 
 
 Lower half.
 
 Full quilt on my king size bed.  

 Borders

 And of course, Angel must do quality control!


Monday, December 24, 2012

Merry Christmas

It has been a while since I posted but I have been busy. 

 First up today is my Christmas quilt.  This was a BOM at the Bernina store.  It is Comfort and Joy by Silver Thimble Quilt Co. I think we did this in 2010/11.  The directions were for an experienced quilter that could look at the photo and work from it.  It did give directions on how to cut the background and borders,  make the filler strips, log cabin, nine patch, half square triangle units, churn dash , flying gees units,Square in  square,Stars (paper pieced) and berries.  The general directions were great and told you how many of each filler block that you would need, but not where the blocks were needed then. And since we got fabric for each month, we had to figure out what was needed.  I did enjoy the challenge but at least one person took hers back after the first month and wanted a refund. There were two color ways to choose from and I chose the light background. I did a simulated needle turn applique.  All of the edges are turned under and then machine zigzaged with monifilimant thread with a tiny stitch.


 This shows the border applique

 And this shows the quilting I did on the rest of the border. 


 These show some of blocks and the different filler blocks. 

I quilted this one myself.  I did a lot of stitch in the ditch and echo quilting.


The next one was also a BOM from the Bernina store. It is Vintage Memories by This and That.  This was in 2009/10. We used Moda  fabric by 3 Sister's called Martinique.It was a nine month BOM project.  The pattern said it was 77" X 97" but mine came out 82"x104".  


This is the center block. 

 One corner and borders. 

 Angel and Kirby approve.

 
 Kirby showing off the quilting on the back!


 I had this one quilted by a local lady. She had already quilted one of these so I gave her free rein! I got it back last Wednesday and bound it Thursday!

Wednesday, November 7, 2012

Knit one... and two...

Hello all... I'm Autumn...

I've been learning to quilt at Nan's elbow, when we are able to get together.  I learned to cross-stitch from my grandmother.  My mother, Mary taught me to crochet and tried to teach me to knit. 

Finally I bought a book and taught myself how to knit!

So I know this site is mainly for quilts but Nan said I could post anything I made here...

This is a garter stitched Lime light green and black for one of the children in the family for Christmas..She is mad about neon green!  I crocheted a simple boarder on single crochet stitch and double crochet stitch . It blinds me! LOL but I think she'll love it!


For our nephew in burgandy double moss stitch with a garter stitch boarder.  The yarn that started this blanket came from Momma Molly, so it will be history for him to always hold on too.  I went with Burgandy instead of bright red so this blanket will be perfect for our nephew at any age.

Already working on another blanket for another child of the family... I love knitting for them.  The thought of the kids dragging these things around or curled up under staying warm....

Hope you all enjoyed!

Friday, October 12, 2012

Our Bernina shop has an Embroidery club every other month.  It is a sit and sew format, so we all take our machines and have a fun morning. 

The first meeting, we did the Mylar kittens that I have previously posted. 

The next meeting we did a Mariner's Compass from Hoop Sisters.  I took my Bernina 830 to class and made the blocks in the Jumbo hoop.   All of the piecing and quilting are done in the hoop and then you assemble the blocks.  On the back of the quilt, you cover the seams with a sashing.  There was only 2 blocks, the center and the borders but you made multiple of each. 

 Yes, that is cats on the hanger!

The Next meeting, we learned reverse  applique on T-Shirts. This was a fun project that the teacher crated for us so was less expensive than the first two.  I was able to get two shirts completed in class and made the third when I got home. Sorry they are so wrinkled!


This is the first one I made.  I used two layers of fabric in the embroidery hoop. 


This is the second one.  It was a little harder to cut away the shirt.


This is the one I did at home and it is only one layer of fabric under the shirt. 

The nest meeting we made a Date Night Bag using another  HoopSisters design.  This one is crazy quilt  Going Crazy. It was two blocks plus the flap.  I did not take my 830 for this one so the bag is small. 

 Back.  Oops.  I left the pin in that is holding the flap closed! 


Front.  The cording I used to finish and for the handle is a little big and stiff , but I liked the  braided purple


The inside is fully lined and  a close up of the handle!