Saturday, June 30, 2012

Mylar Embroidey

Our Bernina store has an Embroidery club that meets every couple of months.  It started out as a demo/lecture meeting.  Then the attendance dropped off to  four or five so the started think of  other formats and came up with a sit and sew format.  The first club was in March and we did Mylar Embroidery from PurelyGates.  The teacher chose Texas designs but said we could pick any from the web site. I chose, of course, Kitties !


The process is to place a piece of Mylar film (polyester wrapping paper) and stitch over it.  The Mylar gives the design a shinny metallic look with out using metallic thread that breaks easily.


 We hung a fancy curtain rod in the living room to display smaller quilts on. 

Here are close ups of the blocks and quilting.


Most of the quilting was done on the embroidery machine.   The quilting around the blocks is red paw prints in the gray and gray yarn and ball in the red.  


I added a cat and yarn ball plus mice in the outer border and sashing.  These were done in the hoop, too.  I connected the yarn balls with free hand machine quilting.


Saturday, June 16, 2012

Quilts I made before I started posting here!

This is a flash back post. These are the links to my other blog (cat blog) where I posted my quilt and sewing projects before I created this one.  There are a lot of links and my cat blog friends have seen all of these before.  There are many more in progress on other pages that I did not copy.  There are also many that I have never  taken pictures of.  I need to get on that! I hope the links work!


April 2009 This is a quilt that was displayed at Wal-Mart. It was quick and fun to make. The kitties love the back side, not the front!
 
August 2009 This Sock Monkey quilt was made for a friend. She wanted it for a nephew or a great nephew. It was the first quilt I made on commission!
 
December 2010 Pot mats I made several of these one weekend.
 
November 2010 Three quilts I finished. These tops had been completed for a couple of years. The first one is a crayon quilt. The Cross one, my daughter pieced and I finished.
 
November 2010 Not a quilt but finger puppets.
 
October 2010. Four more UFO’s completed. Stained glass Texas made from hand dyed fabrics (purchased as a kit), High tail cats, the top was complete and my son told me it was not symmetrical! So I ripped it up and made it over! The lighthouse quilt came from Quilts by the bay. The store was destroyed by the massive hurricane that hid Galveston, TX. The John Deer quilt is another that my daughter pieced and I finished.
 
October 2010. Wild Flowers, by Smith Street, Embroidery blocks set with batiks. Halloween challenge from a quilt shop in Oklahoma. My daughter in law got me in to this one!
 
October 2030. This is another Smith Street Embroidery quilt top, Garden Club
 
September 2010. This was a double BOM. The Stars were a $5.00 program, pay for the first block and all the rest are free if you bring last months completed block in. The appliqued snowmen were extra and about $8.00 a month.
 
September 2010 Halloween Halloween challenge from a quilt shop in Oklahoma. My daughter in law got me in to this one!
 
August 2010 This is not the best picture, but the quilt in the back ground is one that my Grand Daughter made tor the Halloween challenge
 
August 2010 Texas Lone Star pieced in the hoop. Fabrics from JoAnn’s
 
May 2010 Million pillowcase challenge. Mom made 20 or more! She lost count!
 
January 2010 Texas Place matts I made for my Son’s family. Embroidery on pre quilted fabric.
 
August 2011 Plano Quilt Show, Granddaughter’s last year in the under 18 group.
 
February 2011 Another top my Daughter pieced and I quilted.
 
January 2011. Vintage Memories, BOM. Summer quilt camp for adults. A Sara Moe curved piecing quilt. Spotty Kitty, in wool. Pinwheels using a twister ruler.

Sunday, April 15, 2012

Fabric Stash

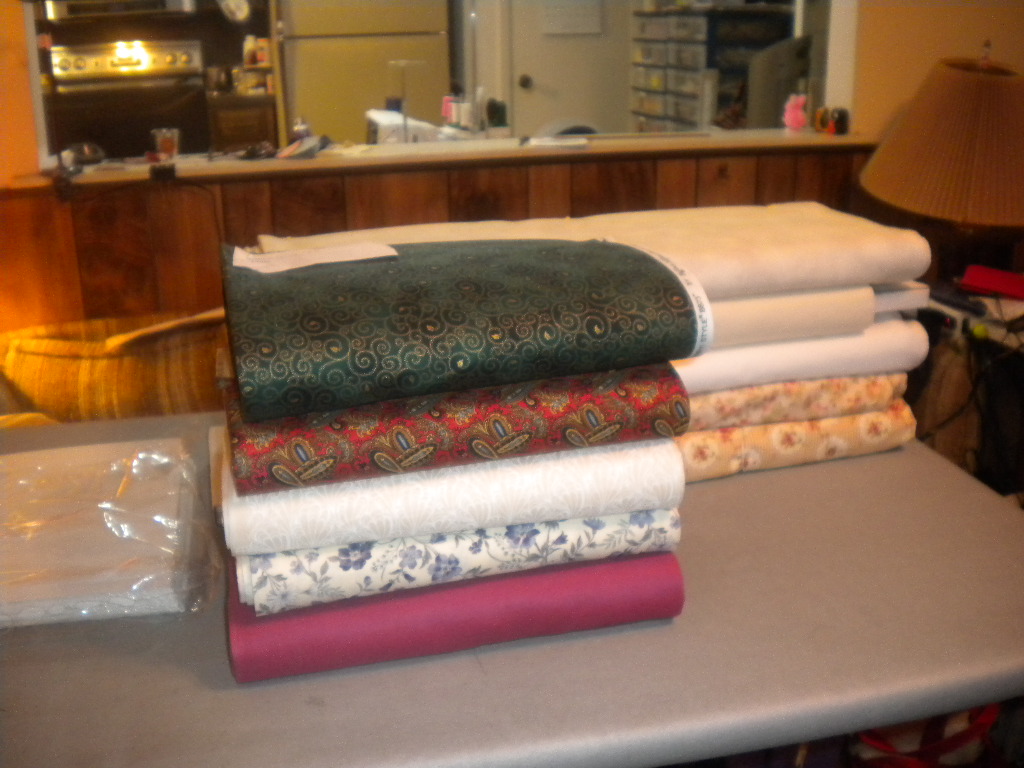
 I have been helping a friend organize her fabric stash.   It is more of a fabric store!  Last summer , we rolled any piece  of fabric that was over two yards on to bolt cores.  I went to the fabric stores and ask for the cores and even raided their trash.  WE rolled over 300 pieces of fabric.  Any thing 2 yards and under, we  put in plastic tubs by color.  Her fabric room looked impressive.  The a couple of months ago, someone at the sewing shop ( show and tell) presented a new way to store fabric using Acid-free comic book backing boards.  They are 6 3/4 by 10 1/2 card stock and are $10 for 100.


After working several weeks on the project, I brought  55 bolts home with me.  My wagon would only hold 45 of them standing up on end
.


These are two shots of the wagon with fabric still in it.


These were the last five before I finish rolling   them.

These  are five that I finished  rolling. You can see the difference in  size  of these compared to a regular bolt.  When I finished rolling all 55 bolts, I had eight cardboard file boxes full. I worked on this Friday night Saturday night and Sunday afternoon to get it all complete for her. This was after rolling 79 batiks and three marbles at her house that afternoon.  Many of the batiks were only 1 yard pieces.
Friday afternoon I brought 35 more bolts home to work on. That gets the majority of it completed, however she does have a few very large bolts that were not going to reroll.


Side note: I have been making toys lately and will get a post up about all of the ones I have made as soon as I can get some pictures completed.  I am not sure how this post will read, because I am using an audio program called Dragon. I am trying to get used to this so that I can read my Dad's book into the computer without having to totally retype it.

Saturday, March 10, 2012

Cat Academy

I did a block of the month called Cat Academy from Stitchin' Heaven in Quitman, TX.  It was designed by Karen Brow of Java House Quilts  and was an 8 month project made from Batik fabrics. 

Blocks 1& 2  and 6 & 9  came as sets in month 1 and 5 because the cats covered two blocks.   When I ordered this I did not pay enough attention that some parts of a cat extended into the next one or the border. This was a fun project but I am glad it is finished.


 Crawford


Darwin - Month 2 Block 3


 Ophilia -  Month 3 Block 4


Thelma and Louise -  Month 4  Block 5


 SASHIMI  - Month 5  Blocks  6 & 9


 Mr Fox - Month 6 Block 7


 Dexter - Month 7 Block 8


Gizmo - Month 8 borders , Kitten and 20 little brown mice! 


 Cat Academy  with Kirby!


Cat Academy with out additional cats! 

THe photos below are of the huge King size Batik Flannel quilt on the bed.  As you can see, it touches the floor on three sides of the bed.  It is very warm.  


Thursday, March 8, 2012

Small projects again

  These are some more Patch Abilities monthly projects that I have completed. You get all the fabric and the topper for the stand every month.   Last year  I was doing a BOM from It's a Stitch  in the Houston, TX area.  I finished it up in February whit this one.


Then I started a BOM from Alford Inn Quilt Shop and Retreat in Van Alstyne, TX.  This year they are using Cedar Canyon - Shive Artist's Paintstik.   I have never used these and I am having fun learning about them.  A set of stencils were included for the whole year with the first kit.  I have received a white and a green paintstik so far!


This is the January kit.  The small snowflakes are stenciled on with the paint. 


This is February and the words are painted. 


 I just finished March, several days late!  The stems and two small shamrocks are paint. 


I will try to get Cat Academy and the very large flannel posted on Saturday!


Tuesday, February 7, 2012

Rainbow quilt

This is a quilt kit I bought in 2002 or 2003, that is when the  pattern is dated.  It is made from a fat quarter bundle of 30 different Benartex Fossil Fern.  
.


This is the only  picture of the quilt in progress.
Kirby loves flannel, especially when it is warm on the ironing board.


The fat quarters were cut into 4 - 4 inch wide strips.  They were sewn together along the long side into a complete loop.  Then you sub-cut those into 4 inch strips.  I decided what color I wanted in the center and started breaking the loops apart moving down one color each time.  The pieced border was made the same way with a one and a half inch strip!


The pieced border was fun, I think!  
It is a queen size, but fits on the king size bed.


I quilted this om my machine.  It has a deeper throat than most.  I used YLY Variations in Jewel tones. The stitch looks like a double sided blanket shift. 


 I could not get a good picture of the back.  It is a tan marble flannel


Kirby, you are such a ham! 
The king size quilt is back from the quilter and I love what she did with it.  Hopefully tomorrow I can get it posted.
I have no idea what I need 3 flannel quilts for.  Some winters, like this one, are too warm for them!

Wednesday, January 11, 2012

Flannel Nine-Patch

I started the Flannel Nine-Patch from Sew-Batik  last Wednesday.  This kit is for a king size quilt.


It has ten different bright batik flannels, six are the same as the twin I finished last week and four new ones.


The background, binding and back  is brown/orange batik.  This picture does not show it well!

I washed all the fabric twice and used color catchers.  It is amazing how much dye washed out.

The quilt is made with two blocks, a nine patch and a square in a square, made up of 3 inch squares.  I made 9  nine patch  blocks of each color (90) and 8 Square in a square of each color (80 - only needed 72). Each color set took 45 minutes to make.

I cut each color and made those blocks before cutting a new color.  I did one set on Wednesday, three on Thursday, four on Saturday, and the last two on Sunday.  We started putting the top together on Monday and finished Tuesday. 


 Today, I started the inner border.  It is pieced from 3 inch squares (114)  and quarter square triangles (228) with the squares on point.

I only had to make two units over!


Inner borders, two with 30 squares and two with 27. 

All of the side set  QST were over sized,  I have to trim all sides of top and pieced border to one quarter inch.  There is an outer border that is six inches wide.  Overall quilt size, 124" x 113"!   It will hang off all four sides of our king size bed!