Friday, October 12, 2012

Our Bernina shop has an Embroidery club every other month.  It is a sit and sew format, so we all take our machines and have a fun morning. 

The first meeting, we did the Mylar kittens that I have previously posted. 

The next meeting we did a Mariner's Compass from Hoop Sisters.  I took my Bernina 830 to class and made the blocks in the Jumbo hoop.   All of the piecing and quilting are done in the hoop and then you assemble the blocks.  On the back of the quilt, you cover the seams with a sashing.  There was only 2 blocks, the center and the borders but you made multiple of each. 

 Yes, that is cats on the hanger!

The Next meeting, we learned reverse  applique on T-Shirts. This was a fun project that the teacher crated for us so was less expensive than the first two.  I was able to get two shirts completed in class and made the third when I got home. Sorry they are so wrinkled!


This is the first one I made.  I used two layers of fabric in the embroidery hoop. 


This is the second one.  It was a little harder to cut away the shirt.


This is the one I did at home and it is only one layer of fabric under the shirt. 

The nest meeting we made a Date Night Bag using another  HoopSisters design.  This one is crazy quilt  Going Crazy. It was two blocks plus the flap.  I did not take my 830 for this one so the bag is small. 

 Back.  Oops.  I left the pin in that is holding the flap closed! 


Front.  The cording I used to finish and for the handle is a little big and stiff , but I liked the  braided purple


The inside is fully lined and  a close up of the handle!


Thursday, August 30, 2012

After we did the Mylar Embroidery our local shop was offering a class in toy making.  My friend wanted to take the class, so I signed up with her. It was a three hour class that met two times. The patterns were from the book, Sewn Toy Tales  by Melly & Me Fun Fabulous Design published by D&C(David&Charles).  There are several different covers for this book.

I almost finished my project in the first class.   We learned how to over stuff the toys so they would hold their shape and stand up.  We used a stuffing tool that looks like a "T" made out of dowel.


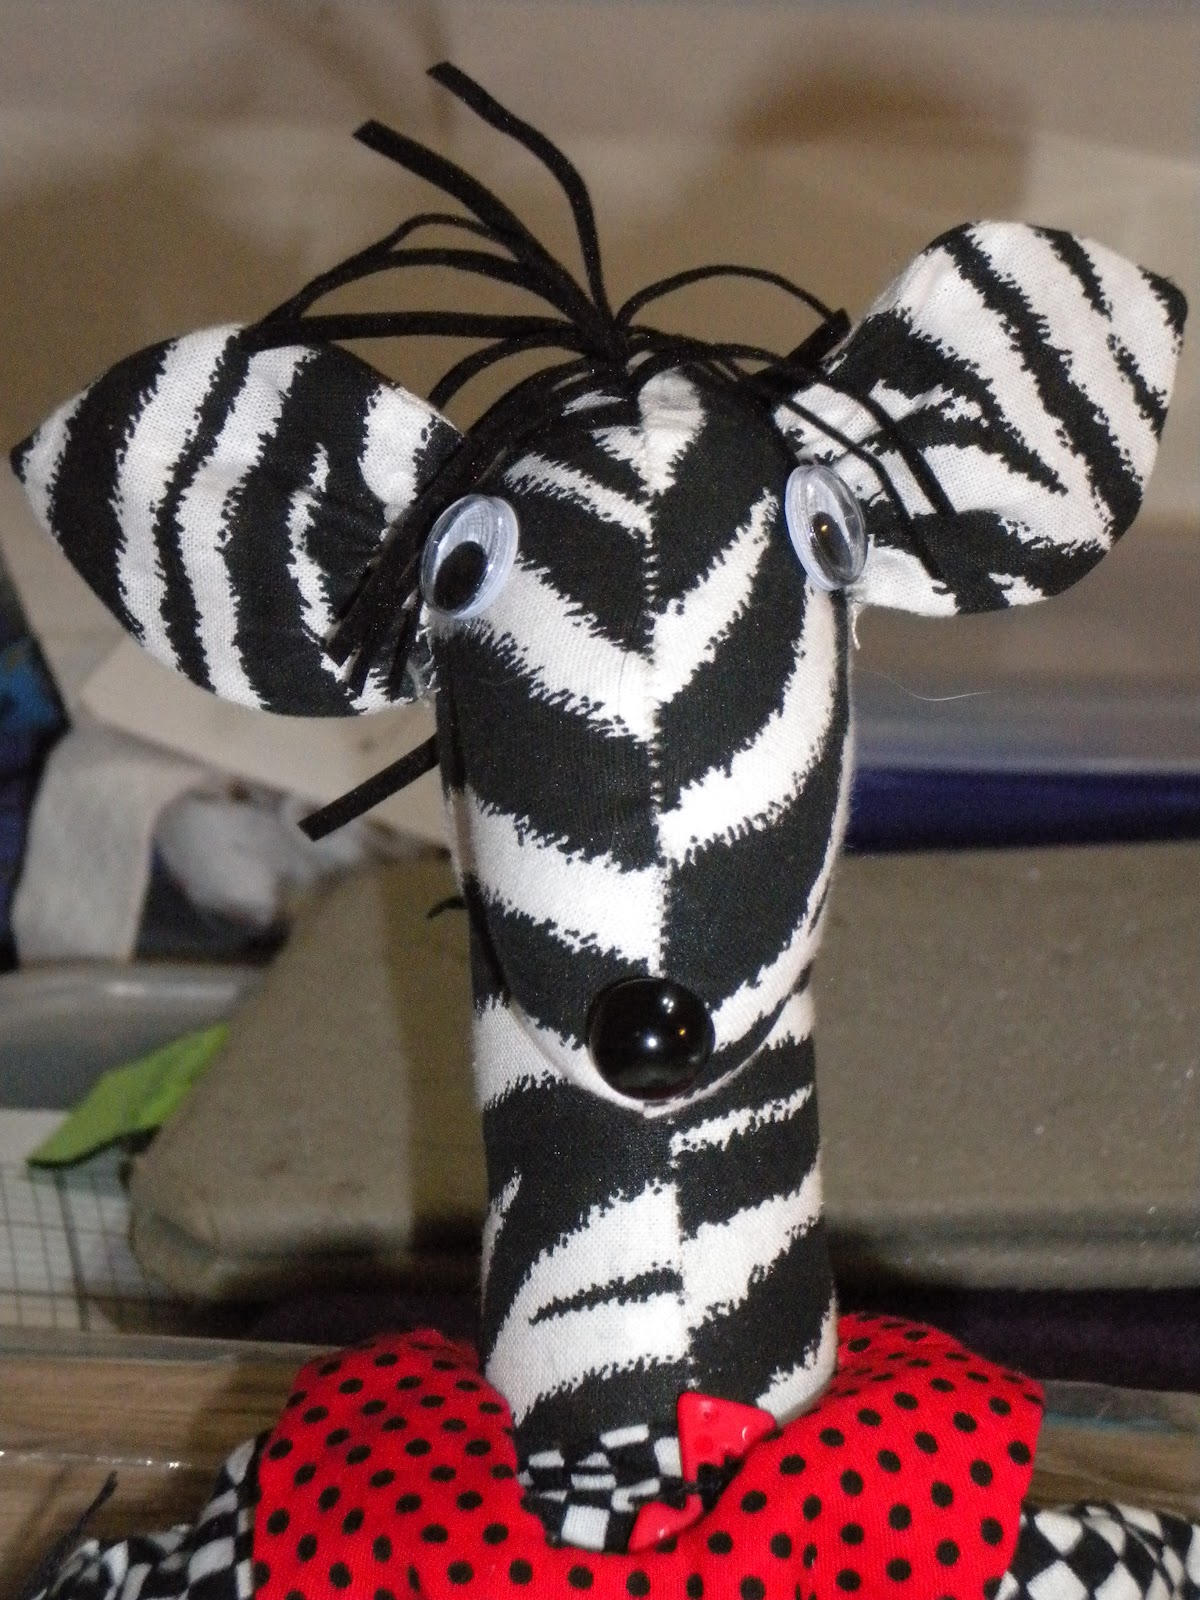
This is Pearl the Zebra.  I made her and her cloths.  I did finish the before the second class.


This is Darcy the Dinosaur.  I had a  scrap dinosaur flannel and it was just big enough tor Darcy.  The only problem, flannel stretches,  The more you stuff the fatter she got and started straining her seams!  I finished her between classes, too. 


This is Polly the pig.  I made her in the  the last class.  I do sew fast. Most of the ladies only finished one animal and unfortunately  my friend did not even finish her first.


An internet friend, cat blogger, special ordered this turtle and his twin.  He is  made from Minkee  (Benertex)or Cuddle (Shannon)  fabric.  I love making these baby lovies.


These little bears were Benertex kits from a Bernina store that was going out of business.  I think I paid $2.00 for each. 


 These Lion Minkee or Cuddly lovies were also a special order.  

I was having so much fun  making toys that I made bugs! This was a pattern that I bought at JoAnns Fabrics.  Lucky Bugs by Parlor Pets


Lady bug. I did not put any pipe cleaners or wires in the legs of these bugs.  


Grasshopper.  I stuffed these so firm (hard) that I could not easily sew the legs on, so they are hot glued on. 


Honey Bee.  The bee and grasshopper do have pipe cleaners in the wings to give them shape.


I have made a bunch of little monsters for a grandson that will arrive in December.  I will post those another time!


Saturday, June 30, 2012

Mylar Embroidey

Our Bernina store has an Embroidery club that meets every couple of months.  It started out as a demo/lecture meeting.  Then the attendance dropped off to  four or five so the started think of  other formats and came up with a sit and sew format.  The first club was in March and we did Mylar Embroidery from PurelyGates.  The teacher chose Texas designs but said we could pick any from the web site. I chose, of course, Kitties !


The process is to place a piece of Mylar film (polyester wrapping paper) and stitch over it.  The Mylar gives the design a shinny metallic look with out using metallic thread that breaks easily.


 We hung a fancy curtain rod in the living room to display smaller quilts on. 

Here are close ups of the blocks and quilting.


Most of the quilting was done on the embroidery machine.   The quilting around the blocks is red paw prints in the gray and gray yarn and ball in the red.  


I added a cat and yarn ball plus mice in the outer border and sashing.  These were done in the hoop, too.  I connected the yarn balls with free hand machine quilting.


Saturday, June 16, 2012

Quilts I made before I started posting here!

This is a flash back post. These are the links to my other blog (cat blog) where I posted my quilt and sewing projects before I created this one.  There are a lot of links and my cat blog friends have seen all of these before.  There are many more in progress on other pages that I did not copy.  There are also many that I have never  taken pictures of.  I need to get on that! I hope the links work!


April 2009 This is a quilt that was displayed at Wal-Mart. It was quick and fun to make. The kitties love the back side, not the front!
 
August 2009 This Sock Monkey quilt was made for a friend. She wanted it for a nephew or a great nephew. It was the first quilt I made on commission!
 
December 2010 Pot mats I made several of these one weekend.
 
November 2010 Three quilts I finished. These tops had been completed for a couple of years. The first one is a crayon quilt. The Cross one, my daughter pieced and I finished.
 
November 2010 Not a quilt but finger puppets.
 
October 2010. Four more UFO’s completed. Stained glass Texas made from hand dyed fabrics (purchased as a kit), High tail cats, the top was complete and my son told me it was not symmetrical! So I ripped it up and made it over! The lighthouse quilt came from Quilts by the bay. The store was destroyed by the massive hurricane that hid Galveston, TX. The John Deer quilt is another that my daughter pieced and I finished.
 
October 2010. Wild Flowers, by Smith Street, Embroidery blocks set with batiks. Halloween challenge from a quilt shop in Oklahoma. My daughter in law got me in to this one!
 
October 2030. This is another Smith Street Embroidery quilt top, Garden Club
 
September 2010. This was a double BOM. The Stars were a $5.00 program, pay for the first block and all the rest are free if you bring last months completed block in. The appliqued snowmen were extra and about $8.00 a month.
 
September 2010 Halloween Halloween challenge from a quilt shop in Oklahoma. My daughter in law got me in to this one!
 
August 2010 This is not the best picture, but the quilt in the back ground is one that my Grand Daughter made tor the Halloween challenge
 
August 2010 Texas Lone Star pieced in the hoop. Fabrics from JoAnn’s
 
May 2010 Million pillowcase challenge. Mom made 20 or more! She lost count!
 
January 2010 Texas Place matts I made for my Son’s family. Embroidery on pre quilted fabric.
 
August 2011 Plano Quilt Show, Granddaughter’s last year in the under 18 group.
 
February 2011 Another top my Daughter pieced and I quilted.
 
January 2011. Vintage Memories, BOM. Summer quilt camp for adults. A Sara Moe curved piecing quilt. Spotty Kitty, in wool. Pinwheels using a twister ruler.

Sunday, April 15, 2012

Fabric Stash

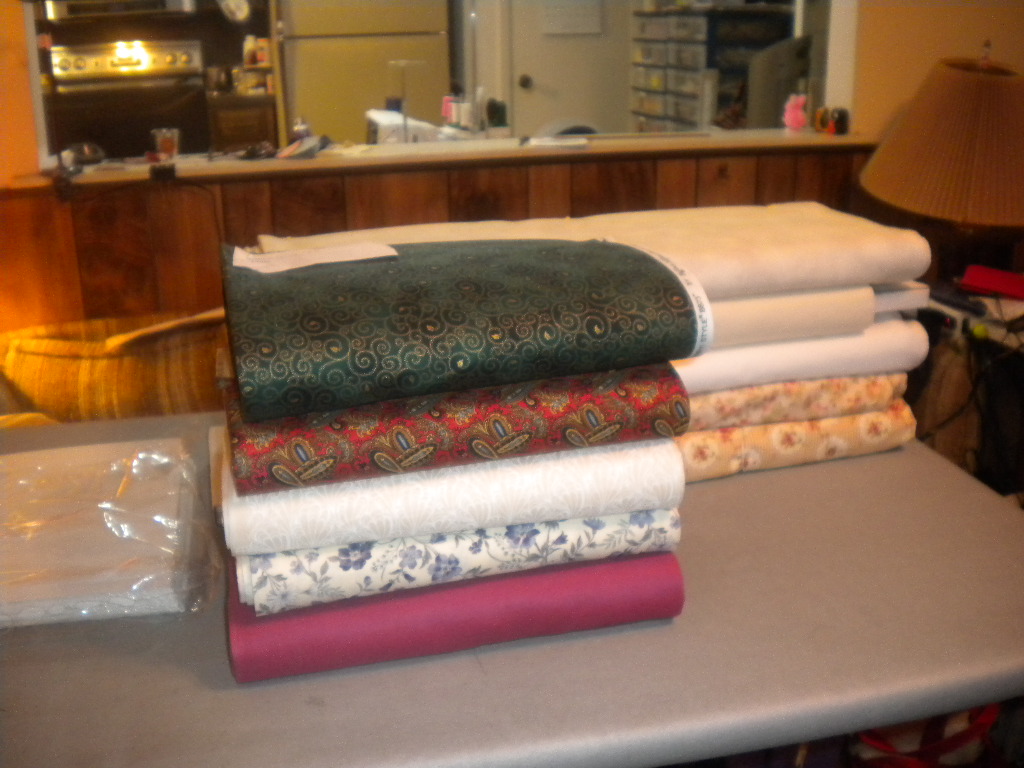
 I have been helping a friend organize her fabric stash.   It is more of a fabric store!  Last summer , we rolled any piece  of fabric that was over two yards on to bolt cores.  I went to the fabric stores and ask for the cores and even raided their trash.  WE rolled over 300 pieces of fabric.  Any thing 2 yards and under, we  put in plastic tubs by color.  Her fabric room looked impressive.  The a couple of months ago, someone at the sewing shop ( show and tell) presented a new way to store fabric using Acid-free comic book backing boards.  They are 6 3/4 by 10 1/2 card stock and are $10 for 100.


After working several weeks on the project, I brought  55 bolts home with me.  My wagon would only hold 45 of them standing up on end
.


These are two shots of the wagon with fabric still in it.


These were the last five before I finish rolling   them.

These  are five that I finished  rolling. You can see the difference in  size  of these compared to a regular bolt.  When I finished rolling all 55 bolts, I had eight cardboard file boxes full. I worked on this Friday night Saturday night and Sunday afternoon to get it all complete for her. This was after rolling 79 batiks and three marbles at her house that afternoon.  Many of the batiks were only 1 yard pieces.
Friday afternoon I brought 35 more bolts home to work on. That gets the majority of it completed, however she does have a few very large bolts that were not going to reroll.


Side note: I have been making toys lately and will get a post up about all of the ones I have made as soon as I can get some pictures completed.  I am not sure how this post will read, because I am using an audio program called Dragon. I am trying to get used to this so that I can read my Dad's book into the computer without having to totally retype it.

Saturday, March 10, 2012

Cat Academy

I did a block of the month called Cat Academy from Stitchin' Heaven in Quitman, TX.  It was designed by Karen Brow of Java House Quilts  and was an 8 month project made from Batik fabrics. 

Blocks 1& 2  and 6 & 9  came as sets in month 1 and 5 because the cats covered two blocks.   When I ordered this I did not pay enough attention that some parts of a cat extended into the next one or the border. This was a fun project but I am glad it is finished.


 Crawford


Darwin - Month 2 Block 3


 Ophilia -  Month 3 Block 4


Thelma and Louise -  Month 4  Block 5


 SASHIMI  - Month 5  Blocks  6 & 9


 Mr Fox - Month 6 Block 7


 Dexter - Month 7 Block 8


Gizmo - Month 8 borders , Kitten and 20 little brown mice! 


 Cat Academy  with Kirby!


Cat Academy with out additional cats! 

THe photos below are of the huge King size Batik Flannel quilt on the bed.  As you can see, it touches the floor on three sides of the bed.  It is very warm.